Spotlights:
- Choosing the right flowers for different vase sizes
- Unique vase ideas for different styles and occasions
- Fun DIY flower arrangement projects to try at home
- How to create themed flower arrangements for special events
- Floral arrangement trends and inspirations for different seasons
Step 1: Gather Your Materials
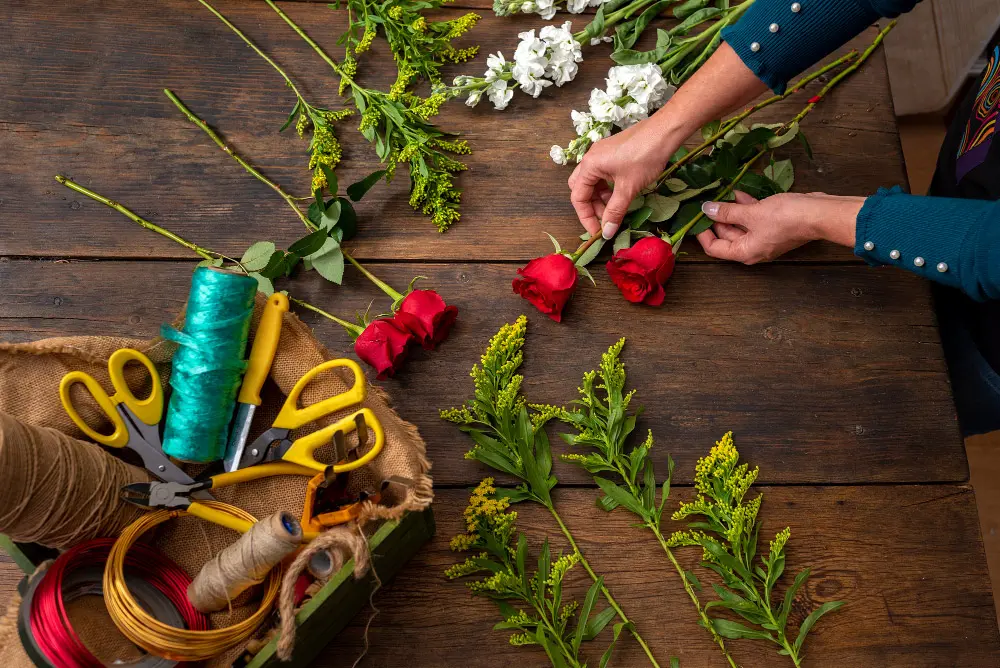
Before you begin arranging your flowers, it’s essential to gather all the necessary materials. Here’s what you’ll need:
- Scissors: You’ll need a pair of scissors or gardening shears to trim the stems.
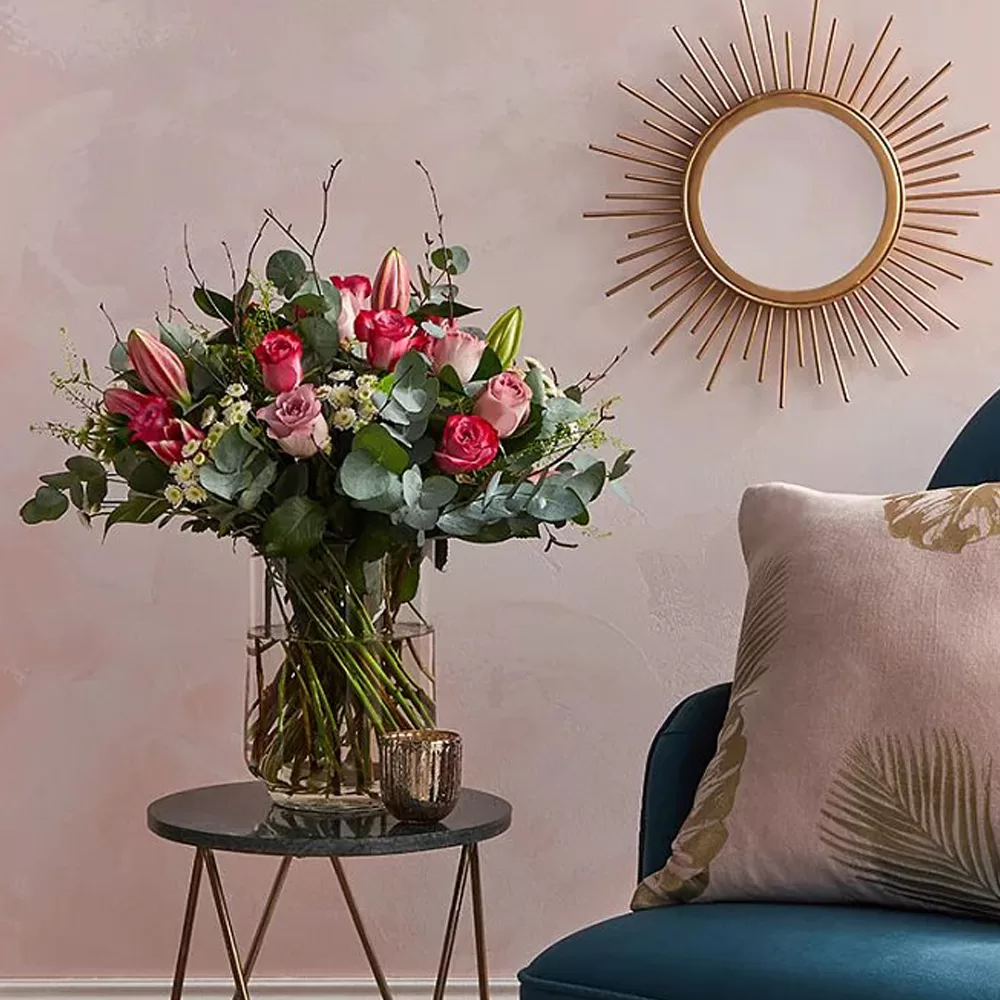
- Vase: Choose a vase that complements your flowers and fits the style you want to achieve.
- Plant Food: Pre-made bouquets often come with packets of plant food. If not, you can purchase plant food from your local gardening shop.
- Water: Water is crucial for keeping your flowers fresh and vibrant.
- Flowers of Choice: Select a variety of flowers, including greenery, primary flowers, and secondary flowers, to create a visually appealing arrangement.
Step 2: Prepare the Stems
To ensure clean stems, remove any extra leaves that may be below the water line. Leaving some foliage is acceptable, as you’ll have greenery to fill in any empty spaces later on. Here’s a detailed guide with some extra tips to ensure your blooms shine:
1. Snip and Strip:
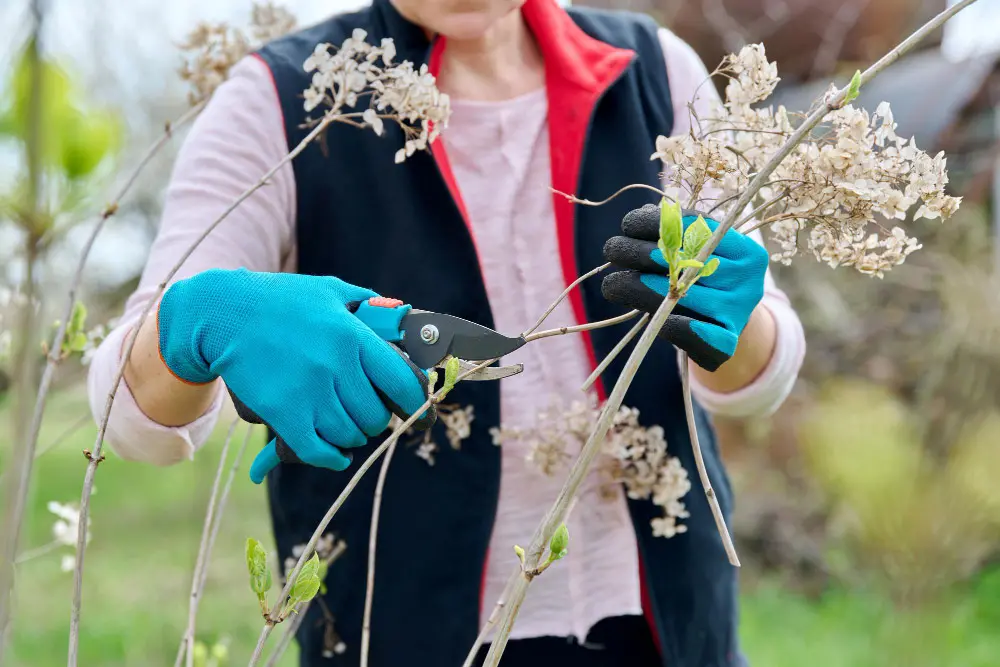
- Grab your shears: Use sharp, clean shears or pruners to make a fresh, angled cut at the base of each stem. Avoid crushing the stem, as this can impede water uptake.
- Leaf it Up (or Down): Remove any leaves that will fall below the water line in the vase. This prevents bacteria growth and keeps the water clean. However, keep some healthy foliage above the waterline to add greenery and fullness to your arrangement.
2. Submerge with Care:
- Depth Matters: Fill your vase with cool, clean water to a depth that reaches about two-thirds of the stem length. Deeper water can be beneficial for certain flowers, so check specific requirements if needed.
3. Tailor to the Type:
- Soft Stems: For delicate flowers with soft stems, like lilies or tulips, consider splitting the stem about 1 inch up from the base. This helps increase water intake and prevents wilting.
- Woody Wonders: For woody stems like roses or hydrangeas, lightly scrape the bark about an inch above the base to expose more surface area for water absorption.
Tips:
- Variety is Key: Don’t be afraid to vary the stem lengths within your arrangement. This adds depth and visual interest, preventing a stiff, uniform look.
- Woody Wonders: For thicker, woody stems like roses or hydrangeas, make a small slit up the stem about an inch from the base before cutting. This helps draw water up the stem even more effectively.
- Submerge Immediately: As you cut each stem, place it directly in a bucket of clean water to prevent air bubbles from forming and blocking water uptake.
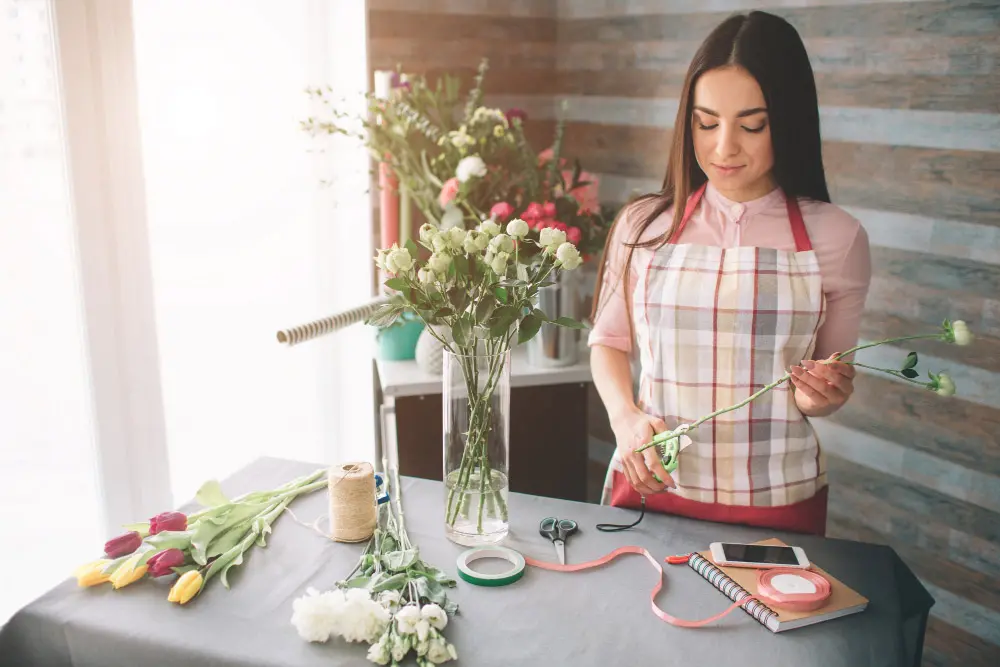
Step 3: Measure and Cut the Stems
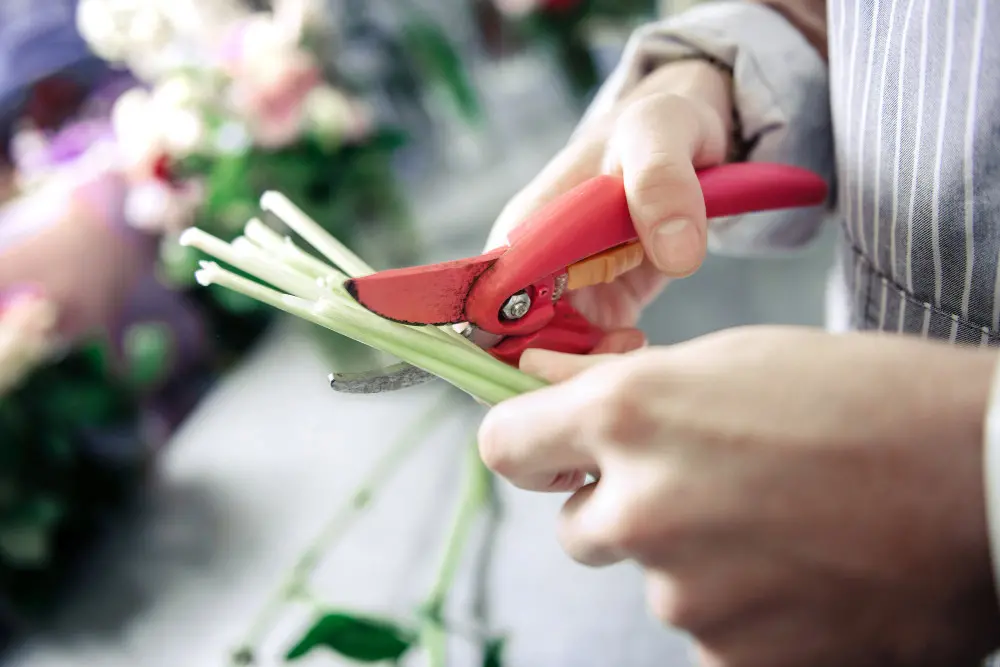
Measure the flowers against your chosen vase and cut the stems at a diagonal angle. Cutting the stems diagonally allows the flowers to absorb more water, helping them stay fresh for longer periods.
Beyond simply measuring and slicing, cutting your stems strategically can play a significant role in the health and beauty of your flower arrangement. Imagine these cuts as the foundation for your floral masterpiece, setting the stage for vibrant blooms and long-lasting enjoyment.
1. Embrace the Diagonal Magic:
As you mentioned, cutting stems at a 45-degree angle isn’t just about aesthetics – it’s science! This maximizes the surface area exposed to water, allowing your flowers to drink deeply and stay fresher for longer. Ditch the straight cuts, and embrace the diagonal as your secret weapon for floral longevity.
2. Consider the Vase, Embrace the Variety:
Don’t limit yourself to a uniform chop! Remember that charming vase you chose? Use its neck height and overall shape as your guide. Some flower heads may stand tall, while others peek charmingly over the rim. Varying the stem lengths adds depth, dimension, and a touch of playful asymmetry to your creation.
3. Know Your Blooms, Treat Them Right:
Different flowers have different personalities, even in stem types. Here’s how to cater to their preferences:
- Soft Stems: For delicate beauties like lilies or tulips, consider splitting the stem about an inch up from the base. This helps water reach the core effectively, keeping them radiant.
- Woody Wonders: Roses and hydrangeas have strong, woody stems. To increase their water intake, try lightly scraping the bark about an inch above the base. Think of it as giving them a little straw to sip from!
- Bulky Bottoms: Some flowers, like sunflowers, have thick, hollow stems. To prevent waterlogging and potential rot, use a sharp knife to remove a small wedge of the stem’s core before placing it in water.
Tip: Submerge those freshly cut stems immediately! A bucket of clean water will prevent air bubbles from forming and blocking their hydration channels.
Step 4: Fill the Vase with Water
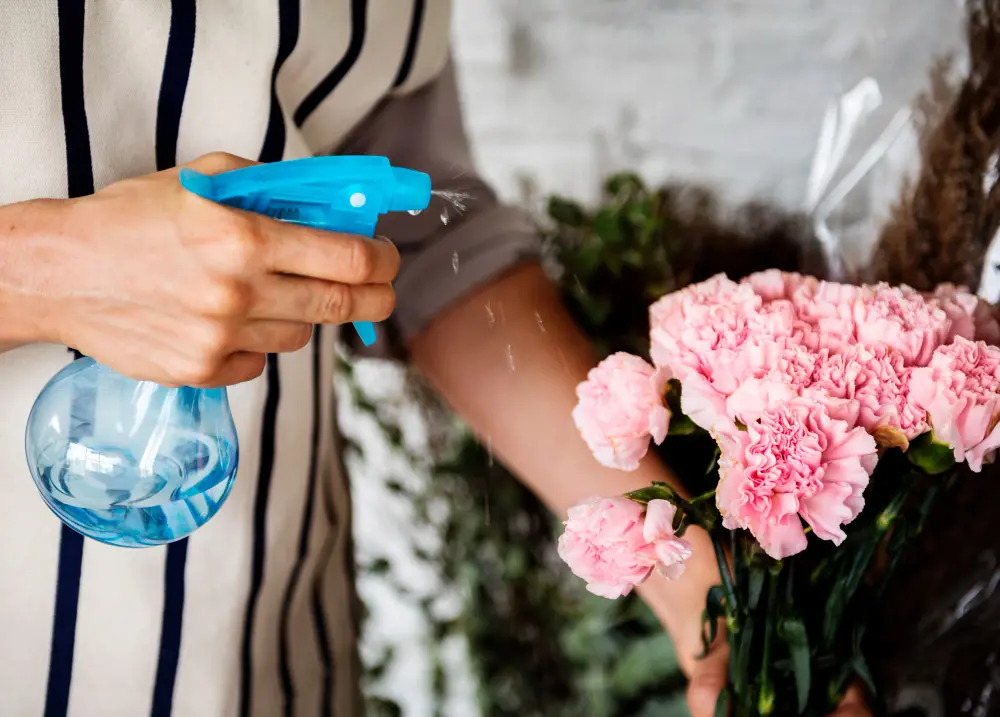
Fill your vase halfway with water. It’s important to change the water every three days to prevent bacteria growth. If you use less water, consider changing it more frequently.
Water is essential for keeping flowers vibrant and healthy, just like it is for us. To ensure your flowers stay lively, it’s important to put the right amount of water in the vase and do it regularly. Here’s how you can do this effectively:
1. Finding the Sweet Spot:
Forget generic instructions! The ideal water level depends on several factors, including your vase’s shape, the stem lengths, and the flower variety. Aim for filling the vase roughly halfway to two-thirds full. This provides enough hydration without drowning the stems, which can lead to rot.
2. Temperature Matters:
Just like we prefer a refreshing cold drink on a hot day, many flowers appreciate cool water too! Use lukewarm or room-temperature water to fill your vase. Avoid icy cold water, as it can shock the blooms, and hot water can accelerate bacterial growth.
3. Change is Good:
Remember, stagnant water is a breeding ground for bacteria, the sworn enemy of floral longevity. To keep your blossoms thriving, make water changes a regular part of your routine. Aim for a fresh refill every three days, but adjust the frequency based on the water level and the types of flowers. Some, like lilies, benefit from daily changes, while others, like roses, can last with less frequent updates.
4. Enhance the Elixir:
While plain water does the trick, a few simple additions can boost your blooms’ happiness. Consider adding a teaspoon of sugar to the water for a gentle energy boost. Some flowers, like chrysanthemums, also appreciate a few drops of lemon or lime juice to regulate the water’s pH balance and prevent bacterial growth.
Tip: Don’t let those cut stems sit dry! As you prepare each flower, immediately place the stem in a bucket of clean water. This prevents air bubbles from forming and keeps the hydration channels open for optimal water uptake later in the vase.
Step 5: Add Plant Food
Add the plant food to the vase. It should naturally mix in with the water. If it sinks to the bottom, gently stir it until fully dissolved.
While water provides the basic hydration, plant food acts like a nutrient-rich smoothie for your floral creations. It gives them the extra vitamins and minerals they need to stay vibrant, fight off pathogens, and keep those petals smiling brighter for longer. But adding plant food isn’t just a sprinkle and forget affair. Here’s how to unlock its magical potential:
1. Know Your Food:
Not all plant foods are created equal! Check the specific instructions on your chosen product. Some come in convenient packets, while others might require measuring. Remember, overdosing can be harmful, so always follow the recommended amount.
2. Timing is Key:
Don’t wait until your flowers are wilting to offer them a nutritional boost. Add the plant food during your initial water fill, giving your blooms the benefits from the very beginning.
3. Natural Blending:
The ideal plant food should readily dissolve into the water, avoiding any chunky surprises. Gently swirl the vase to ensure it mixes in completely. Don’t worry if it sinks slightly; that’s normal. The important part is that the water becomes enriched with those floral superpowers.
4. DIY Alternatives:
Feeling adventurous? While commercial plant food offers convenience, you can create your own natural solutions too. A teaspoon of sugar per vase provides a gentle energy boost, while a few drops of lemon or lime juice can help regulate the water’s pH and prevent bacterial growth. Remember, though, to tailor these DIY mixtures to the specific needs of your chosen flowers.
5. Beyond the Initial Dose:
Changing the water every three days provides another opportunity to replenish your floral fuel. Add a fresh dose of plant food with each water change to keep the nutrient levels optimal and your blooms basking in floral bliss.
Tip: For long-lasting arrangements, consider using plant food specifically designed for cut flowers. These formulas often contain additional ingredients that help prevent flower drop and prolong vase life.
By harnessing the power of plant food, you’ll give your floral creations the extra oomph they need to shine. Remember, nourished blooms stay vibrant and healthy, allowing you to enjoy their beauty for days to come. So, don’t forget the floral smoothie, and watch your arrangements blossom into masterpieces!
Step 6: Create a Base with Greenery
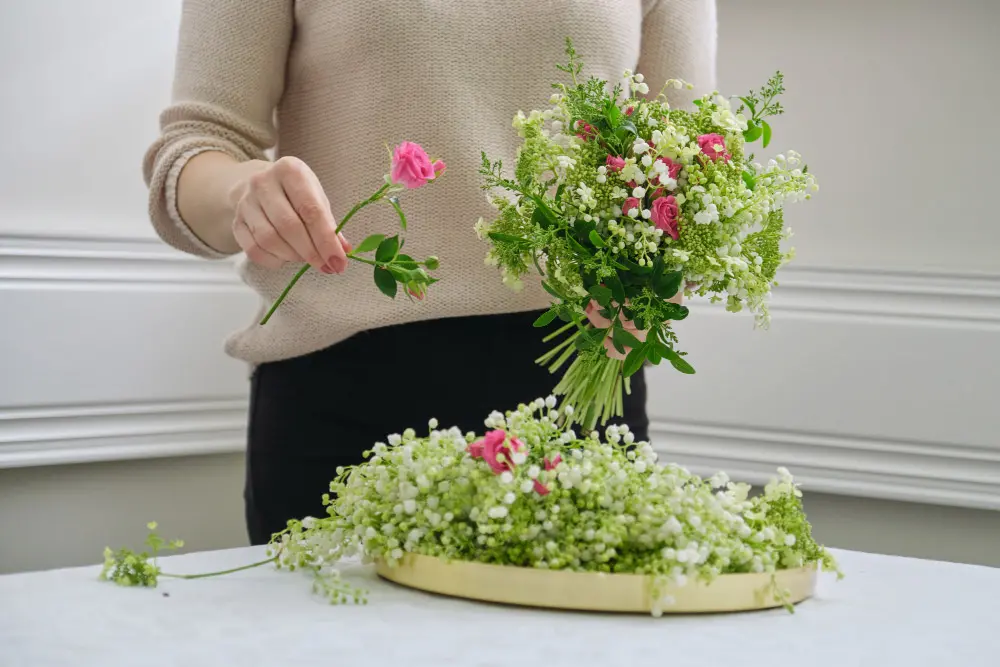
Start by creating a base for your arrangement using greenery. Criss-cross the stems to form a lattice pattern, which will provide a sturdy foundation for your flowers.
With your stems prepped and your vase brimming with nourishing water, it’s time to step into the world of floral architecture. The foundation of your masterpiece – the base – sets the stage for the drama and beauty to come. And what better way to build this stage than with the vibrant energy of greenery?
1. Embrace the Lattice:
Criss-crossing your chosen greenery stems is a fantastic way to create a sturdy and visually interesting base. Think of it as weaving a leafy net. Use longer, sturdier stems like ferns or eucalyptus to form the main grid, then layer in shorter branches and foliage to fill any gaps.
2. Layer and Texturize:
Don’t be afraid to mix and match different types of greenery! Combine broad fern fronds with delicate asparagus sprays, introduce pops of color with chartreuse ivy or burgundy heuchera. This variation adds depth and textural intrigue to your base, preventing a flat, monotonous look.
3. Consider the Canvas:
Remember that your chosen vase plays a part too! If it has a wide neck, build a fuller base to balance the top-heavy blooms. For tall, slender vases, a more streamlined base with height variations can create a graceful silhouette.
4. Think Beyond Green:
While your greenery friends are the stars of this step, consider sneaking in a few subtle floral hints. Tuck in a couple of unopened rose buds, a sprig of lavender, or a delicate spray of wildflowers. These floral whispers add a touch of intrigue and anticipation for the full bloom reveal to come.
5. Build with Stability in Mind:
Remember, this is the scaffolding for your floral masterpiece. Ensure your lattice is sturdy enough to support the weight of the flowers you’ll be adding later. Avoid flimsy arrangements that might topple over, leading to floral drama of a different kind!
Tip: Use floral tape strategically to secure particularly weak or unruly stem intersections. This invisible support system keeps your green foundation strong and ready to showcase your floral stars.
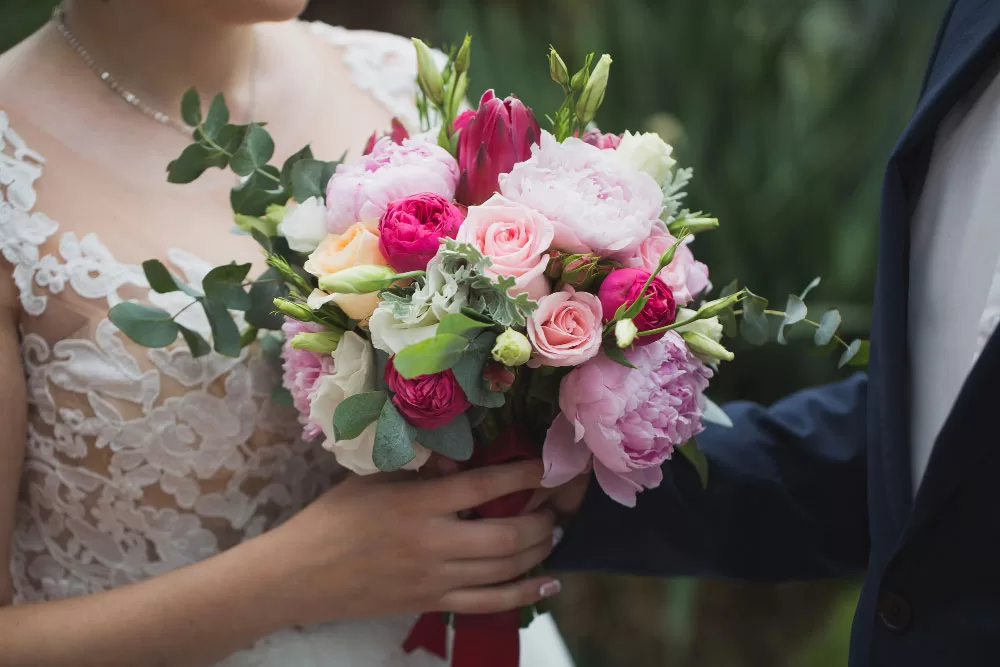
Step 7: Add Focal Flowers
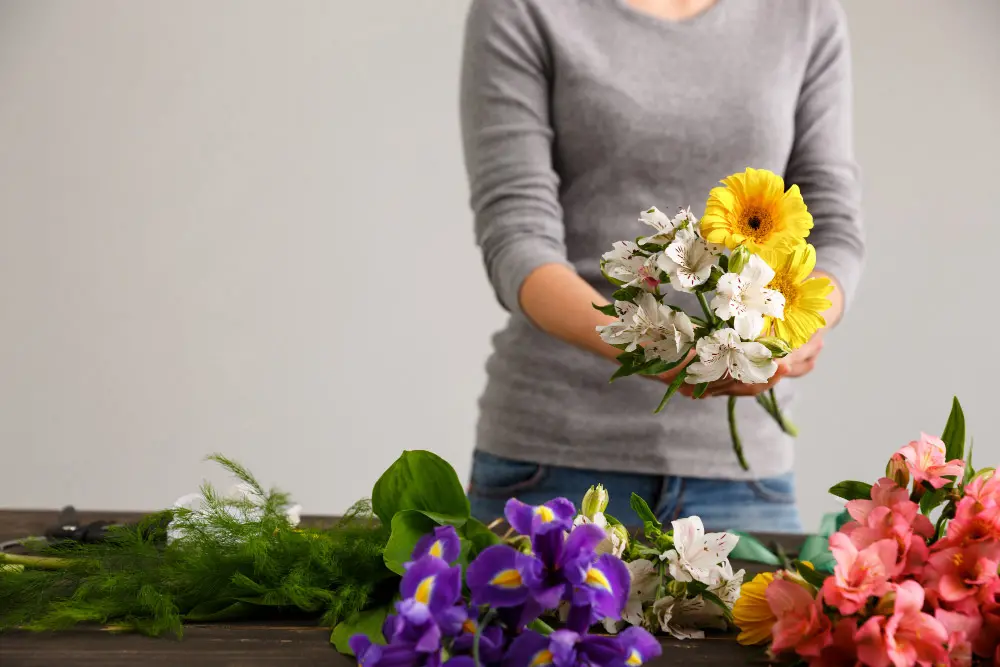
Next, add your focal flowers to the arrangement. These are the flowers you want to highlight and draw attention to. Choose flowers that are colorful, large, or simply your favorites. Spread them out evenly to achieve a balanced look.
With your base of flourishing greenery established, it’s time to welcome the true stars of the scene – your focal flowers! These blossoms are the eye-catchers, the drama queens, the divas of your floral masterpiece. Let’s make their entrance truly epic:
1. Choose Wisely:
Your focal flowers deserve their spotlight. Pick blooms that exude personality, whether it’s through vibrant colors, captivating textures, or unique shapes. Consider flower design varieties like bold sunflowers, elegant lilies, or regal calla lilies. Choose gifting flowers that harmonize with your chosen color palette and the overall mood you want to create.
2. Size Matters:
Remember the scale of your arrangement. For smaller vases, opt for delicate daisies or charming ranunculus, while larger spaces can handle the grandeur of peonies or hydrangeas. Balance is key: avoid overwhelming the base with colossal blooms or leaving small arrangements feeling empty with oversized stars.
3. Spread the Spotlight:
Don’t let your focal flowers hog the stage! Distribute them evenly around the arrangement, ensuring each section gets a taste of their dazzling presence. Imagine them as constellations in the floral universe, captivating the eye from every angle.
4. Embrace the Unexpected:
Don’t be afraid to break the mold! Introduce a single contrasting bloom amidst the harmony of your chosen color palette. Or, pair delicate foliage with a flower boasting a bold, geometric shape. These unexpected pairings add intrigue and dynamism, preventing your arrangement from becoming predictable.
5. Think Beyond Color:
Texture plays a crucial role in creating a visually captivating masterpiece. Mix smooth petals with feathery plumes, velvety roses with delicate ferns. This interplay of textures adds depth and dimension, transforming your arrangement from a flat picture to a captivating 3D spectacle.
Bonus Tip: Consider the direction of your flowers! Angle some blooms upward for a playful look, while others can gracefully cascade over the rim, creating a sense of movement and flow. Remember, floral directionality can contribute to the overall mood and story your arrangement tells.
Step 8: Incorporate Secondary Flowers

Now it’s time to add your secondary flowers. These flowers are typically smaller and will help round out the overall arrangement. Distribute them throughout the bouquet to create depth and texture.
With your focal flowers basking in their well-deserved spotlight, it’s time to introduce the next chapter in your floral narrative: the secondary blooms. These charming supporting actors may be smaller in stature, but their role in creating a cohesive and captivating arrangement is just as crucial. Let’s explore the magic they bring:
1. Bridging the Gaps:
Think of your secondary flowers as the connectors, the bridge builders in your floral masterpiece. Use them to fill in any empty spaces around your focal stars, creating a sense of fullness and visual coherence. This prevents an arrangement from feeling sparse or disconnected.
2. Textural Delights:
Secondary flowers offer a playground for exploring texture and detail. Play with delicate sprays of baby’s breath, fluffy pom-poms of button mums, or dainty sprigs of lavender. These contrasting textures add depth and visual interest, preventing your arrangement from becoming a one-dimensional spectacle.
3. Color Harmony and Contrast:
While your focal flowers may steal the spotlight with their bold hues, your secondary blooms can play with color in fascinating ways. Choose complementary shades to build a harmonious palette, or introduce pops of contrasting colors to create playful juxtapositions. Remember, even the smallest petal can have a significant impact on the overall color story.
4. The Element of Surprise:
Don’t shy away from unexpected pairings! Tuck in a sprig of rosemary with its fragrant needle-like leaves, or introduce a single exotic orchid amidst the familiar faces. These surprising elements add a touch of intrigue and personality, making your arrangement a conversation starter, not just a pretty picture.
5. Embrace the Cascade:
Secondary flowers excel at adding movement and flow to your creation. Allow some to gracefully cascade over the rim of the vase, creating a sense of fluidity and softness. Others can peek out from behind larger blooms, adding a playful element of discovery for the beholder.
Bonus Tip: Consider using secondary flowers that complement the scent of your focal blooms. Imagine the delicate aroma of lavender mingling with the sweet fragrance of roses, creating a sensory experience that goes beyond the visual.
Step 9: Finalize and Adjust
Take a step back and assess your arrangement. Rearrange or fill in any empty spaces as needed. Remove any wilted petals and ensure that the foliage fills in any gaps. This is your opportunity to fine-tune your arrangement and make it truly breathtaking.
With your floral symphony nearly complete, it’s time to step back and become the discerning conductor, ensuring every note hits its perfect pitch. This final step of refining and adjusting is where your artistry truly shines, transforming your arrangement from a collection of blooms into a breathtaking work of art.
1. The Critical Eye:
Take a step back and gaze upon your creation. What speaks to you? Are there any awkward gaps that beg to be filled? Does the color palette sing in harmony, or are there clashes that need softening? Use this critical but appreciative eye to identify areas for improvement.
2. Embrace the Tweak:
Don’t be afraid to make adjustments! This is the stage for gentle nudges and playful rearrangements. Shift a bloom here, tuck a sprig there, add a final pop of color with a strategically placed secondary flower. Remember, small changes can have a significant impact on the overall balance and visual appeal.
3. Fill the Silences:
Empty spaces can be awkward guests in your floral party. Use remaining greenery or secondary flowers to fill any gaps, ensuring a sense of fullness and cohesion. Remember, negative space can be valuable too, but don’t let it dominate – aim for harmonious balance.
4. Farewell to the Faded:
Wilted petals and browning leaves have no place in your floral masterpiece. Gently remove them, giving your arrangement a fresh and vibrant look. This also helps prevent bacteria growth and prolongs the overall life of your creation.
5. The Foliage Factor:
Don’t neglect your leafy friends! Ensure that the greenery seamlessly fills in any gaps, providing a supportive framework and a touch of natural flair. Remember, foliage is not just filler; it’s an integral part of the story your arrangement tells.
Tip: Consider the light source! If your arrangement will be displayed in a specific location, adjust the flower positions accordingly. Ensure each bloom enjoys its share of the spotlight, preventing any from being cast into undeserved shadows.
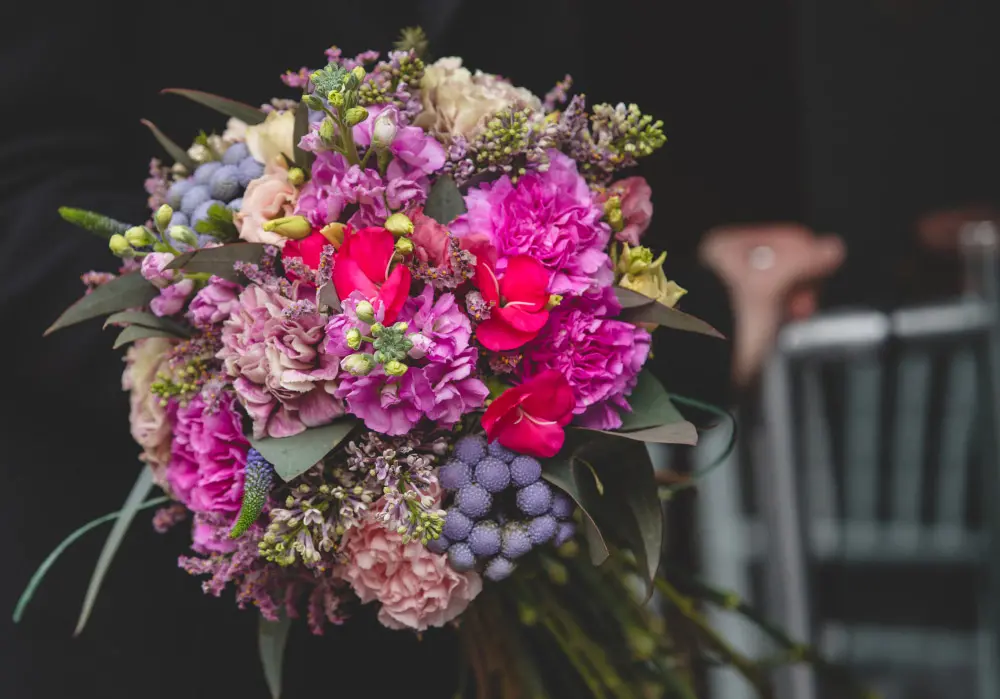
To make a bouquet with beautiful flowers look amazing, pay attention to the details and make small changes. It’s like turning a regular arrangement into a stunning masterpiece. Think of each adjustment you make as a brushstroke on a canvas. So, let your inner floral artist shine, believe in your creative ideas, and see your arrangement turn into a breathtaking creation. It’s about tweaking things bit by bit until you’re happy with the final result.
Now, your floral masterpiece is complete! Enjoy its vibrant beauty, the delicate fragrance, and the sense of artistic accomplishment it brings. Remember, a well-crafted arrangement is more than just a decoration; it’s a story told through nature’s vibrant palette, whispering of harmony, beauty, and the joy of creativity. So, bask in the floral glow of your achievement, and let your masterpiece bloom brightly into the world!
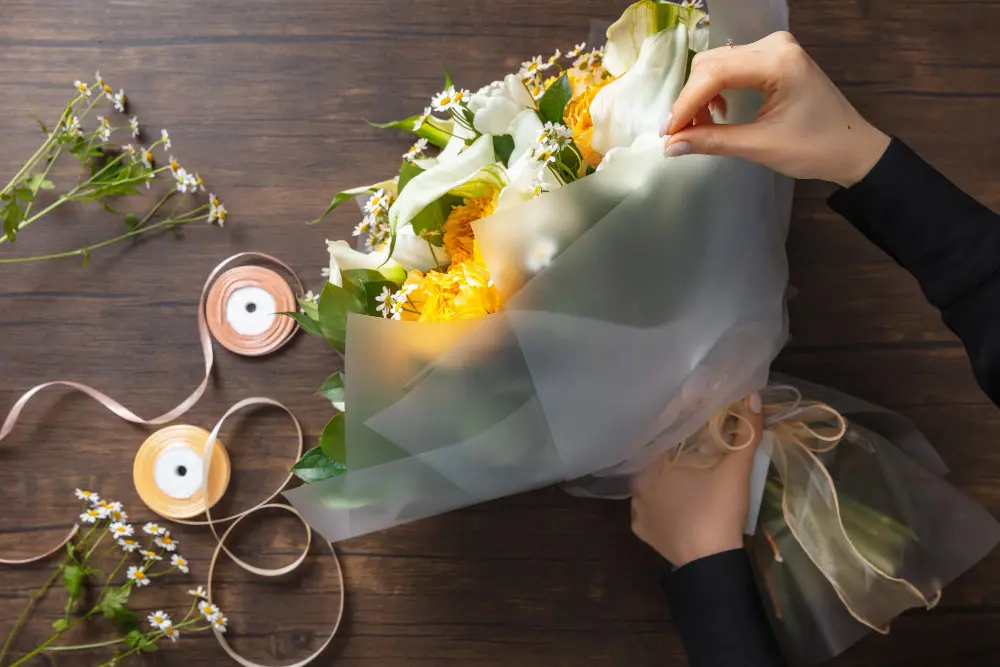
Tips and Tricks for Creating Beautiful Flower Arrangements
Now that you know the basic steps to arrange flowers, here are some tips to help you take your floral creations to the next level:
Choose the Right Vase:
Consider the size, shape, and color of the vase to complement your flowers. A colorful vase can add an extra touch of vibrancy to a neutral-colored bouquet.
Purchase Extra Flowers:
It’s always a good idea to shop for flowers than you think you’ll need. Some flowers may wilt or not fit perfectly, so having extras ensures you can create a stunning arrangement.
Experiment with Color:
If you’re new to arranging flowers, try using a blend of flowers in the same color family. This creates a cohesive and visually pleasing look.
Include Greenery:
When using a single type of flower, be sure to include greenery to add dimension and balance to the arrangement.
Add Unique Elements:
Consider incorporating unique flowers like succulents or kale flowers to add interest and texture to your arrangements.
Create a Grid with Tape:
To establish a sturdy base, create a grid of tape on the mouth of the vase. Insert the stems into the grid openings and rest them on the tape for added stability.
By following these steps and incorporating these tips and tricks, you’ll be able to create stunning flower bouquets for special occasions. Remember, practice makes perfect, so don’t be afraid to experiment and let your creativity flourish. Happy arranging!
Related search: